
How to push information to your students from Absalon
You have two ways of communicating with the students. Your choice depends on your needs:
- Option 1: Send an e-mail to all or a segment of your students, sections (rul) or groups and push it to the My UCPH app
- Option 2: Send an announcement to all enrolled in the course room that is visible in the course room
Both options offer the opportunity to attach files and both options send an e-mail to the recipients. However, there are differences, which are described below for each option.
Option 1 - E-mail
Choose this option if you want to target your message a segment of your students, teachers, sections (rul) or groups. This option is highly flexible in terms of recipients. You also get the advantage of a push notification on the student's My UCPH app. For this reason, we recommend this option for vital information (e.g. cancellations).
How to send an e-mail:
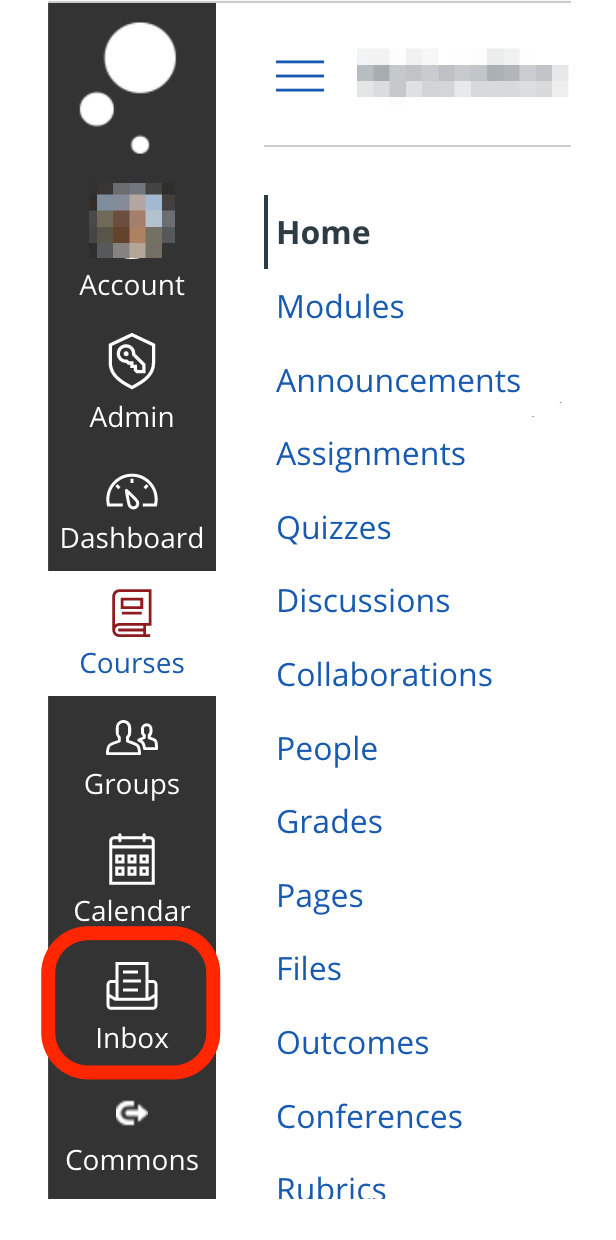
- Click on 'Inbox' in the global menu to the left (red circle below):
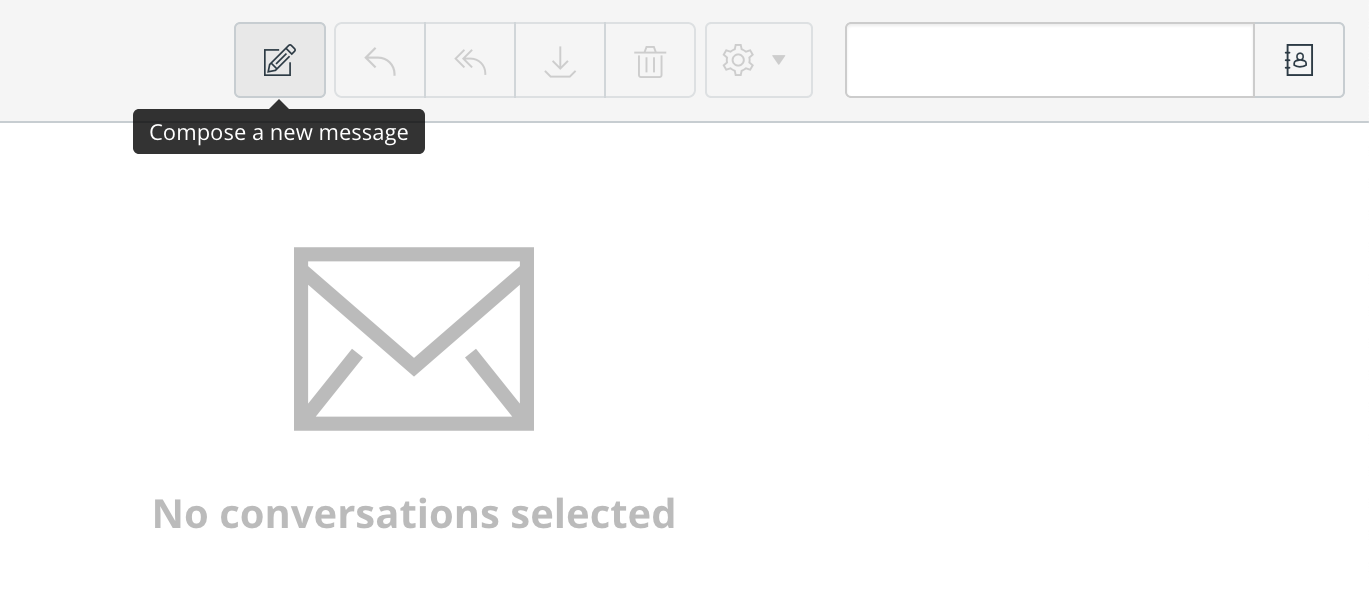
- Click on 'Compose a new message' in the top left menu:
- Choose the relevant course (red circle below)
- Choose the recipients in the 'To'-field by clicking the small contacts icon to the right (blue circle below):
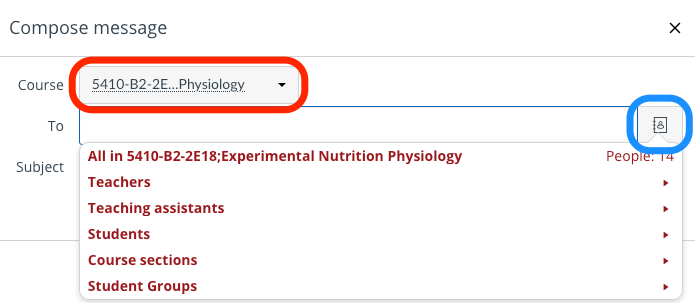
- 'All in [course name]' for selecting all persons enrolled in the course room (students and teachers)
- 'Teachers'/'Teacher assistants' for selecting all or individual teachers.
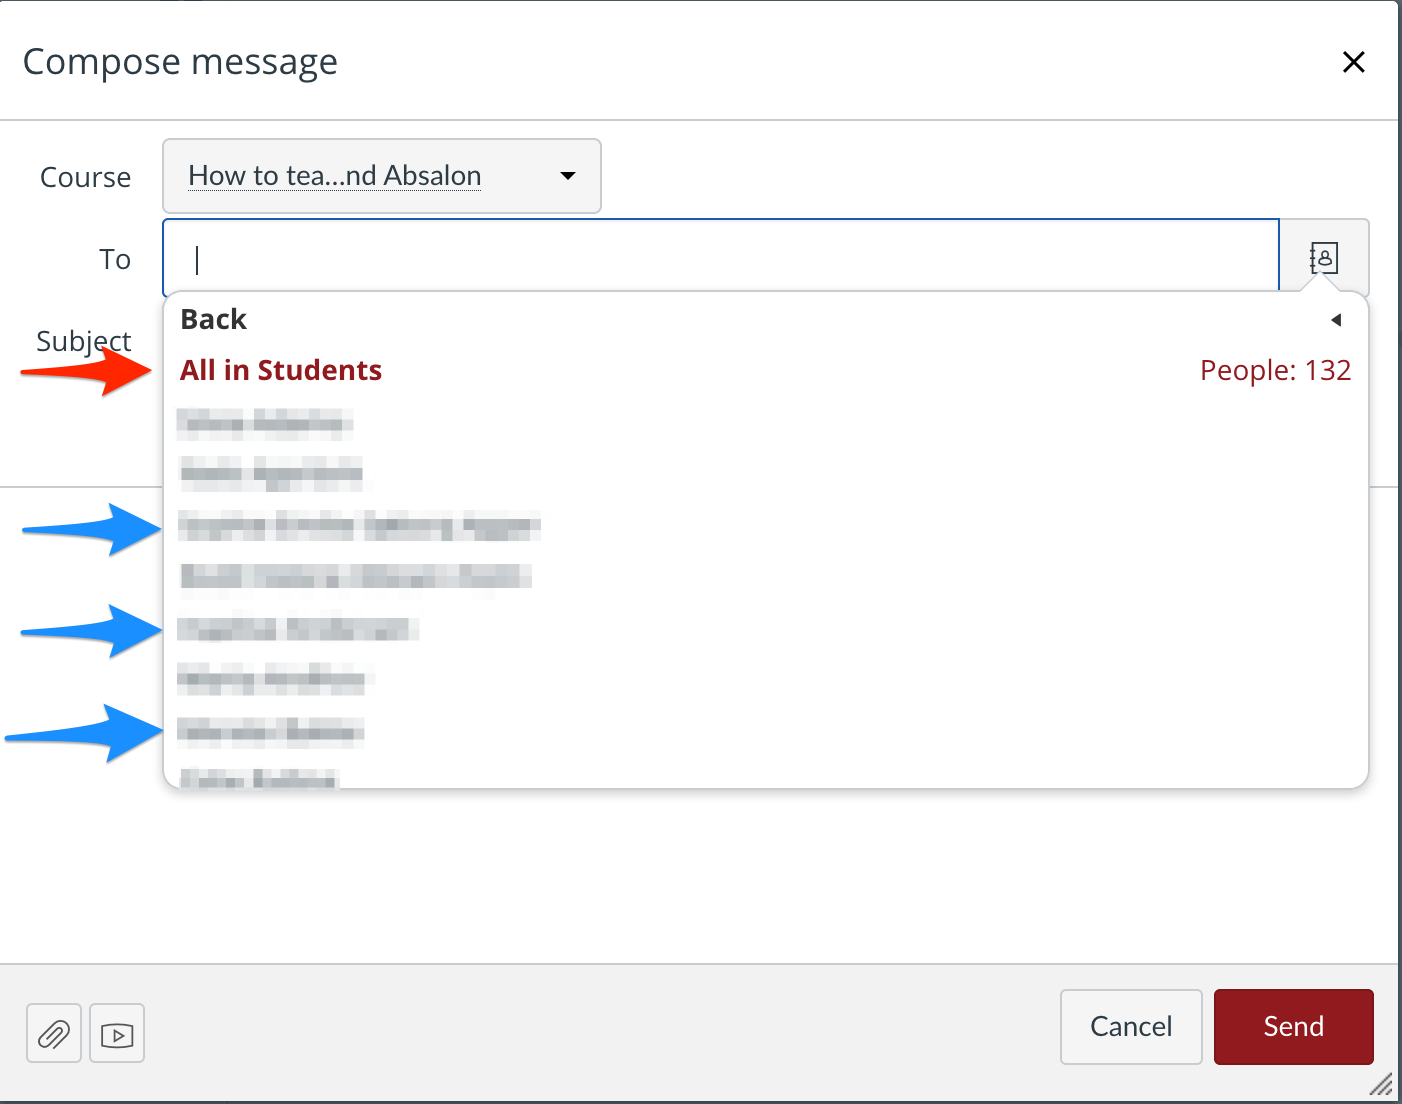
- 'Students' for selecting all students ('All in students', red arrow below), one student or several students (blue arrow below). Hold Ctrl/Cmd key to select more the one (same functionality for selecting one or more applies to all options):
- 'Course section' for selecting all sections or individual sections (rul).
- 'Student groups' for selecting individual groups
- 'Teachers' for selecting individual teachers
- Click 'Send'
Option 2 - Announcement
Choose this option if you want to target all the people enrolled in the course (teachers and students). You do have the possibility of targeting sections (rul) from STADS, but not manually created groups via the groupset function.
In addition, announcements:
- can be formatted like a web page (e.g. including other materials like pictures, tables, videos, etc.)
- are posted in the Announcement menu in the course menu (see screenshot below)
- can be linked to from e.g. a Page
- can be delayed when sending out
- can be commented on if allowed
How to send an announcement
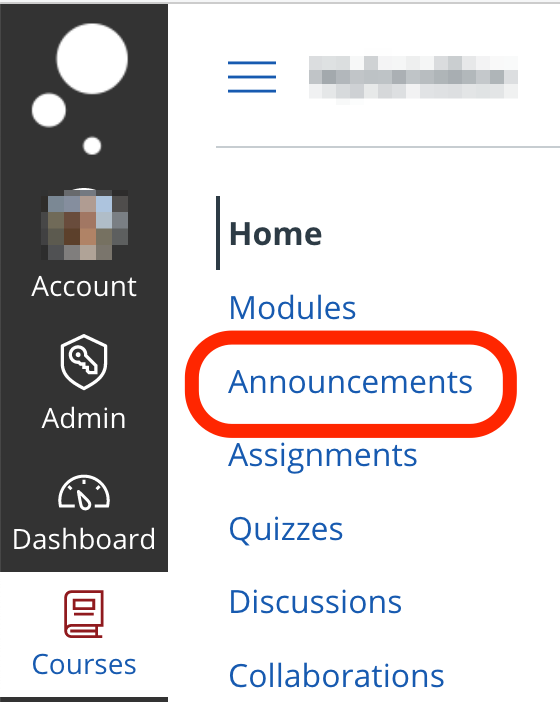
- Click on 'Announcements' in the course menu to the left (red circle below):
- Click on the red '+Announcement' button in the left menubar:

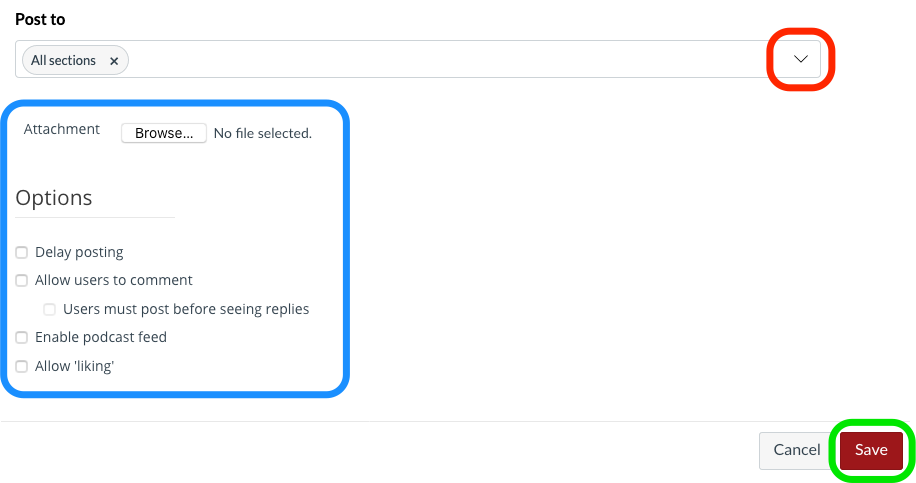
- Select recipients in the 'Post to' box (red circle below).
- Ad an attachment and adjust the settings to your needs (blue circle below).
- Click 'Save' to send the announcement (green circle below)
Remember that announcements listed in the course can derive from other teachers or the administration. Thus, it is not your personal correspondence with the students, so please do not delete any announcements from the course.